Follow Me On Social Media!
Homemade Diaper Cream: The Best Soothing Solution for Baby’s Skin
Introduction to Homemade Diaper Cream
Imagine the feeling of relief as you cradle your little one, knowing their delicate skin is safeguarded with a homemade diaper cream crafted from the purest ingredients right in your kitchen. This isn’t just any cream; it’s a nurturing formula designed to keep your baby’s skin protected and nourished, free from the synthetic additives that many store-bought options contain. Making your own diaper cream can be a rewarding experience, allowing you to take control over your baby’s skincare routine and avoid unwanted chemicals.
It’s surprising how often parents overlook the importance of diaper cream. Many might assume that any store-bought option suffices, but choosing a natural alternative can truly make a difference for your child’s sensitive skin. Commercial products often contain fragrances and preservatives that may cause irritation rather than provide relief. By opting for a homemade diaper cream, you ensure that only gentle, skin-loving ingredients come into contact with your baby’s delicate skin.
What makes homemade diaper cream a must-have? First and foremost, you can customize it to suit your child’s specific needs. Whether your little one has super sensitive skin, is prone to rashes, or simply requires a little extra moisture, you’re in control of the formula. Natural ingredients such as coconut oil and shea butter are known for their soothing properties, and when combined with essential oils, can enhance healing and provide a comforting aroma without the risk of irritation.
Moreover, making your own diaper cream can be incredibly satisfying. It’s a wonderful way to bond with your child while nurturing your parenting journey. Plus, it’s budget-friendly! The ingredients are typically cost-effective and last for numerous batches, meaning you can whip up a fresh supply whenever needed without breaking the bank.
Creating your own homemade diaper cream not only equips you with a parent-approved solution for diaper rash but also fosters a deeper connection to the products you use for your baby. In the following sections, we’ll explore the ingredients and easy steps involved in making your very own diaper cream that will keep your little munchkin happy and cared for.
Key Ingredients for Homemade Diaper Cream
Creating your own homemade diaper cream can bring peace of mind, especially when you know exactly what ingredients you’re putting onto your baby’s delicate skin. Each component plays a crucial role in soothing and protecting from irritation.
-
Coconut Oil: I love starting with coconut oil because it’s not only a natural moisturizer but also has antimicrobial properties. It gently hydrates the skin while creating a protective barrier against moisture and friction.
-
Beeswax: This ingredient is a game-changer. It thickens the cream and provides a waterproof seal, helping to keep wetness away from your baby’s skin. Plus, it’s a natural ingredient that’s gentle and safe.
-
Shea Butter: Pure shea butter is rich in vitamins A and E, offering deep nourishment. I always choose unrefined shea for maximum benefit—it feels luxurious and helps heal irritated skin.
-
Essential Oils: I enjoy adding a drop or two of lavender essential oil for its calming aroma and soothing properties. Just make sure it’s baby-friendly, as not all oils are suitable for little ones.
-
Zinc Oxide: This is a key player in homemade diaper cream because it provides a physical barrier against moisture, helping to prevent rashes effectively.
With these ingredients, you can create a homemade diaper cream that’s both effective and gentle—perfect for your little one’s sensitive skin.
Why You’ll Love This Recipe
Crafting your own homemade diaper cream can be a surprisingly rewarding experience. Not only does this recipe allow you to control the ingredients that come into contact with your baby’s delicate skin, but it also offers a gentle and effective solution for preventing and soothing diaper rash.
When I first discovered how simple it is to make my own diaper cream, I felt empowered. With just a handful of natural ingredients, I was able to blend my very own protective ointment. No more worrying about the chemicals and fragrances often found in commercial brands!
Benefits of Using Homemade Diaper Cream
- Natural Ingredients: This homemade diaper cream uses beneficial oils and butters that are safe for sensitive skin, like shea butter and coconut oil.
- Cost-Effective: Making your own cream is not only healthier but also easier on the wallet. A little goes a long way, and you won’t be constantly repurchasing commercial products.
- Customization: Everyone’s baby is different, and you can tailor the scents and consistencies to what works best for your little one.
So, if you’re looking to give your baby the best care right from the start, this homemade diaper cream is a perfect recipe to try. You’ll love how easy, effective, and fulfilling the whole process is!
Variations
Creating homemade diaper cream is a wonderful way to customize your baby’s skincare routine. Here are some creative variations to consider:
-
Essential Oils: Add a few drops of lavender or chamomile essential oil to your homemade diaper cream for a soothing scent and additional skin-healing properties. Ensure the oils are safe for babies and use them sparingly!
-
Herbal Infusion: Infuse the coconut oil with calming herbs like calendula or chamomile before mixing in other ingredients. A simple method is to heat the oil gently with dried herbs for a couple of hours and then strain out the herbs.
-
Zinc Oxide Addition: For extra protective qualities, incorporate zinc oxide into your homemade diaper cream. This ingredient is commonly found in commercial diaper creams and can help treat and prevent rashes effectively.
-
Alternative Butters: Experiment with different butters like shea or mango for varying textures and benefits. Each butter imparts its unique moisturizing properties to the cream.
Feel free to mix and match these variations to find what works best for your little one’s delicate skin!
Cooking Tips and Notes
Creating your own homemade diaper cream can be a rewarding experience, not just for your little one but for your peace of mind. When you know exactly what’s going on their skin, you can rest easy. Here are some handy tips and thoughts to guide you through this endeavor.
Quality Ingredients Matter
Choose high-quality oils and butters for your homemade diaper cream. For instance, shea butter is deeply moisturizing and provides a protective barrier against moisture. Likewise, using organic coconut oil not only nourishes but also has natural anti-fungal properties. Don’t skimp on quality for the sake of convenience; it’ll be worth it for your baby’s sensitive skin.
Customize to Your Preference
Feel free to personalize your homemade diaper cream! Add a few drops of essential oil like lavender for soothing properties, but always conduct a patch test first. Babies’ skin can be sensitive, so it’s crucial to ensure that any added ingredients are safe for them.
Storage Tips
Transfer your homemade diaper cream to an airtight container and keep it in a cool, dark place to ensure it stays fresh. A small jar works perfectly for on-the-go diaper changes.
Remember, the time and care you put into making this cream make it that much more special for your baby!
Serving Suggestions
Crafting your own homemade diaper cream not only saves money but ensures you know exactly what’s going on your baby’s delicate skin. Once you’ve whipped up this soothing salve, consider these thoughtful serving suggestions to maximize its effectiveness and enjoyment.
Application Tips
- Clean and Dry Skin: Before applying the cream, gently clean the diaper area with water and a soft cloth. Make sure it’s completely dry to allow the cream to adhere better.
- Patting Motion: Use a soft, clean finger to apply a small amount of cream, gently spreading it into the skin using a patting motion rather than rubbing. This minimizes any irritation while ensuring thorough coverage.
Storage Recommendations
- Cool, Dark Place: Store your homemade diaper cream in a cool, dark place to prolong its shelf life. A small jar with a tight-fitting lid works best, keeping it away from direct sunlight.
- Labeling: Don’t forget to label your jar with the date you made the cream. It’ll help you keep track of freshness.
Reapplication Frequency
- Regular Use: For optimal results, apply the cream at every diaper change, especially if your little one has sensitive skin. This proactive approach can help ward off rashes effectively.
By integrating these simple tips, you can ensure your homemade diaper cream not only soothes but also protects your baby’s skin, allowing for a happy and comfortable diapering experience.
Time Breakdown for Homemade Diaper Cream
Creating your own homemade diaper cream is not just a practical choice, but a rewarding one too. The journey starts with setting aside some time to craft a gentle, natural product for your little one.
Preparation Time
The preparation phase requires about 15 minutes. During this time, you’ll gather your ingredients and tools. It’s always helpful to have a clean, organized workspace!
Infusion Time
Once your oils and herbs are combined, you’ll need to let them infuse for about 1–2 hours on low heat. This step is crucial to draw out all the beneficial properties of the ingredients.
Total Time
In total, expect to dedicate around 2–3 hours, including infusion and cooling time. With just a little patience, you’ll end up with a soothing homemade diaper cream that’s perfect for your baby’s delicate skin.
Nutritional Facts of Homemade Diaper Cream
Creating your own homemade diaper cream not only saves money but also ensures that you know exactly what goes onto your baby’s delicate skin. This natural alternative is packed with beneficial components.
Key Nutrients
- Coconut Oil: Rich in medium-chain fatty acids, coconut oil offers antibacterial and anti-inflammatory properties that help soothe irritation.
- Shea Butter: Packed with vitamins A and E, shea butter is known for its moisturizing capabilities, promoting skin repair and reducing redness.
- Beeswax: This creates a protective barrier, sealing in moisture while keeping irritants at bay.
Key Benefits
Making homemade diaper cream provides a gentle, chemical-free option for your baby’s skin. With nourishing ingredients, it helps prevent rashes while ensuring hydration. Plus, it’s free from synthetic additives, leaving you worry-free about harmful ingredients. Your baby’s comfort is paramount, and this natural solution makes a big difference!
FAQs About Homemade Diaper Cream
Creating homemade diaper cream can certainly be an adventure, filled with moments of trial and error, but once you find the perfect blend, your little one will reap the benefits. Let’s tackle some common questions to ensure your DIY journey is smooth sailing!
How to store homemade diaper cream?
Storing your homemade diaper cream properly is essential for maintaining its effectiveness. I recommend keeping it in an airtight container to prevent moisture from getting in. A small glass jar works great! Store it in a cool, dark place, like a cabinet, away from direct sunlight and heat. This will help preserve the natural ingredients and ensure your cream remains fresh for up to six months.
Can I substitute any ingredients?
Absolutely! The beauty of homemade diaper cream is its flexibility. If you’re out of shea butter, cocoa butter can be a great alternative, although it might slightly alter the texture and scent. Instead of coconut oil, you could use olive oil, which offers similar moisturizing properties. Just make sure any ingredient substitutions you make keep the cream gentle and safe for your baby’s delicate skin.
How often should I apply it?
For best results, apply your homemade diaper cream during each diaper change, especially if your baby is prone to rashes. A thin layer is usually sufficient to protect their skin. You’ll want to keep an eye out for any signs of irritation, as every baby’s skin is different. Regular application can provide an effective barrier against moisture and friction, helping to keep your baby comfortable and rash-free.
Remember, creating a nurturing environment for your little one starts with the products you choose, and making your own allows you to have complete control!
Conclusion on Homemade Diaper Cream
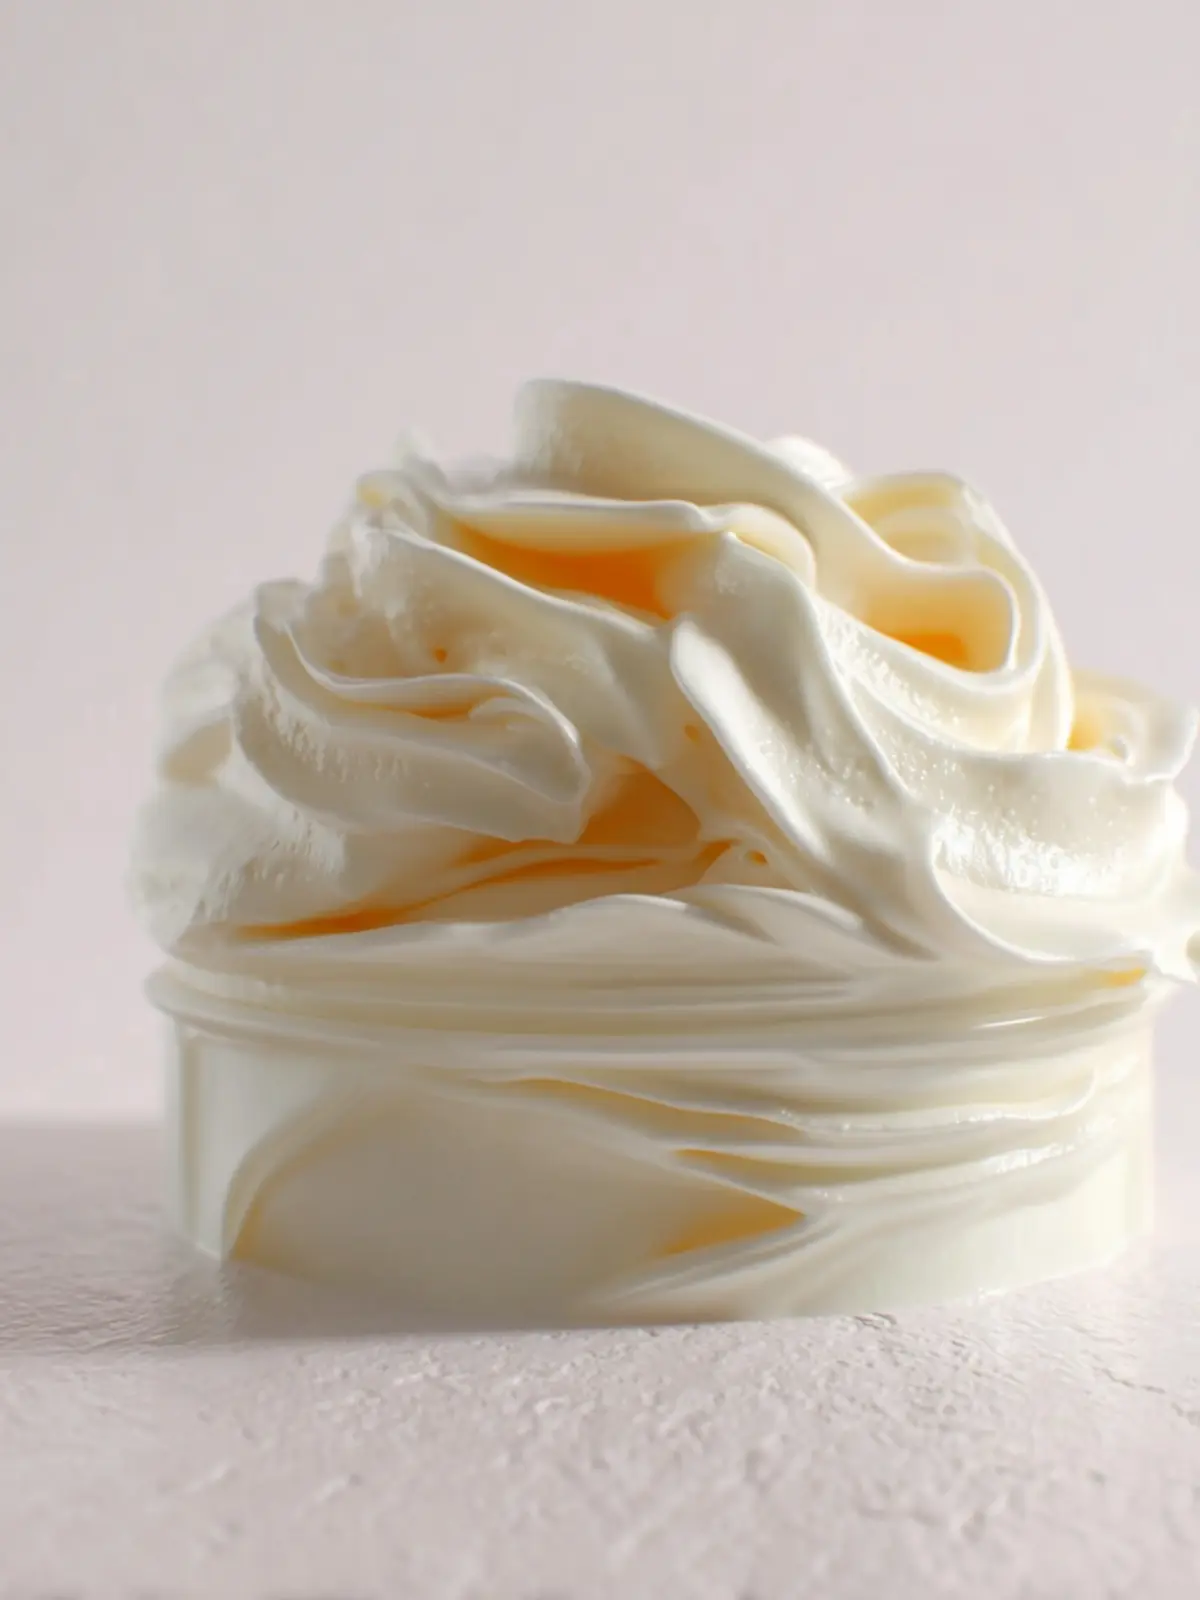
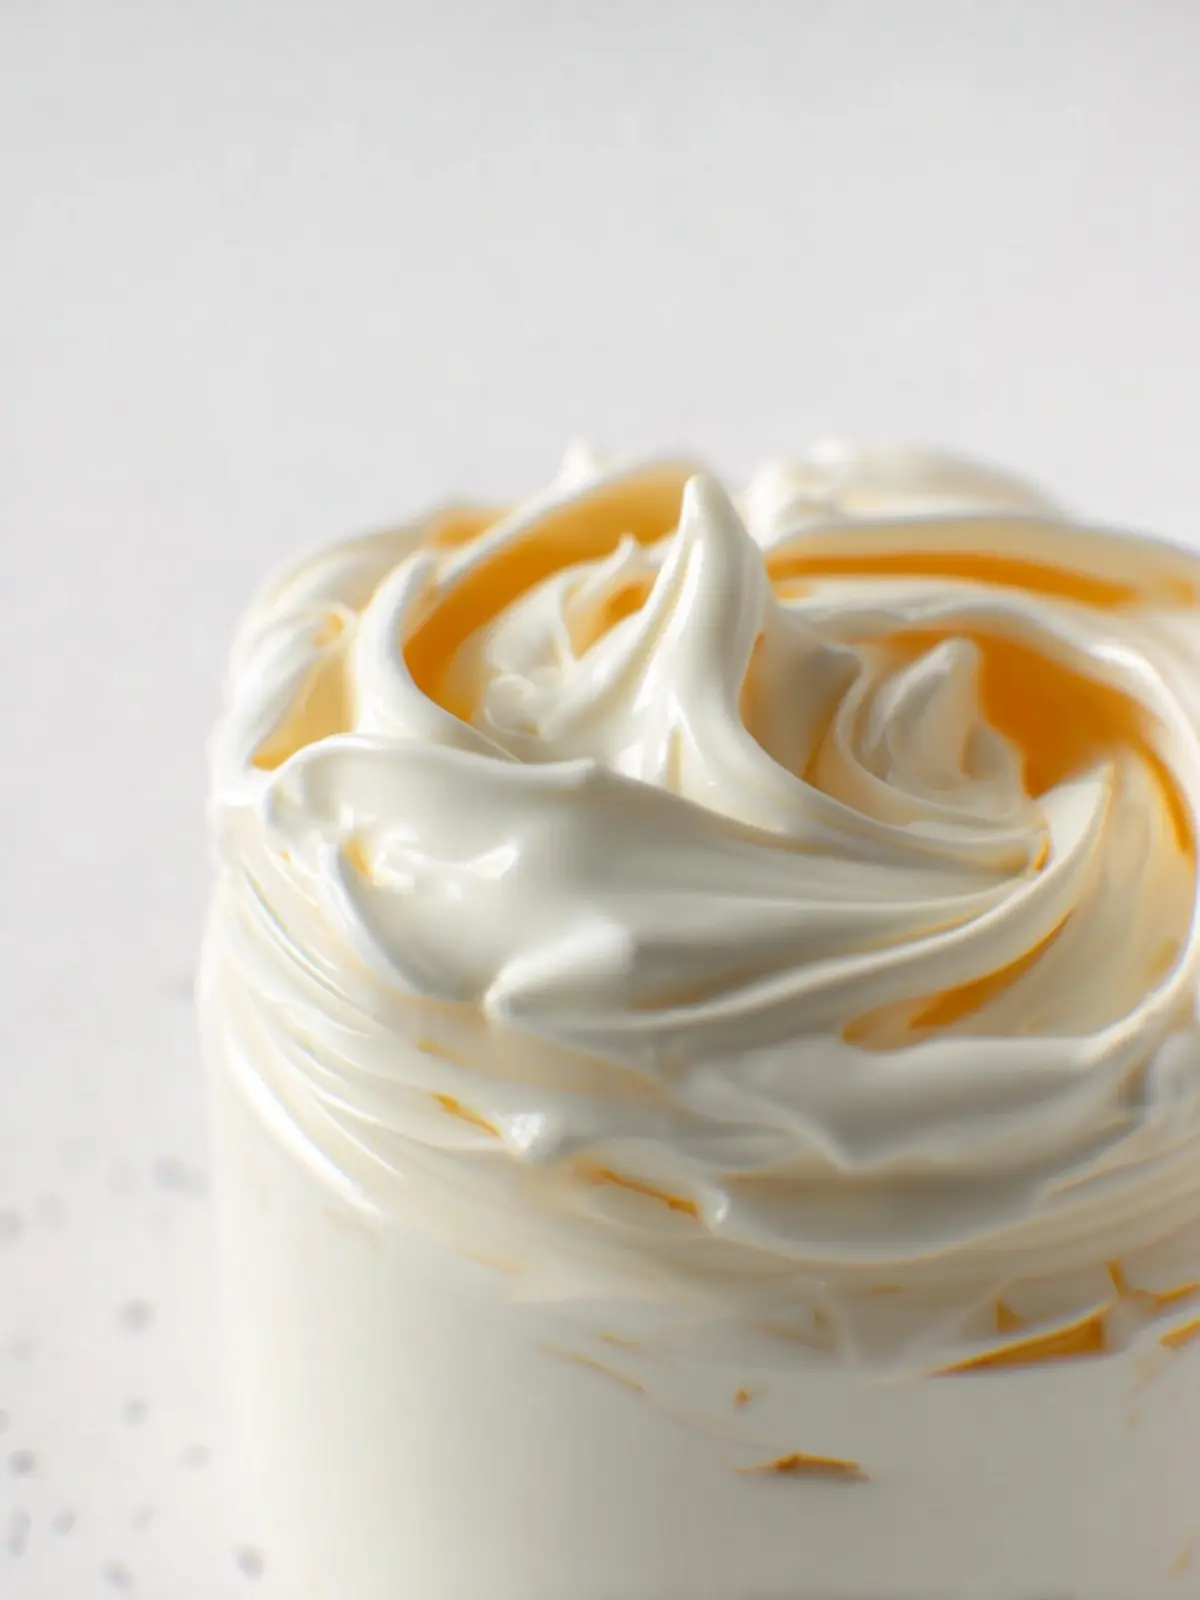
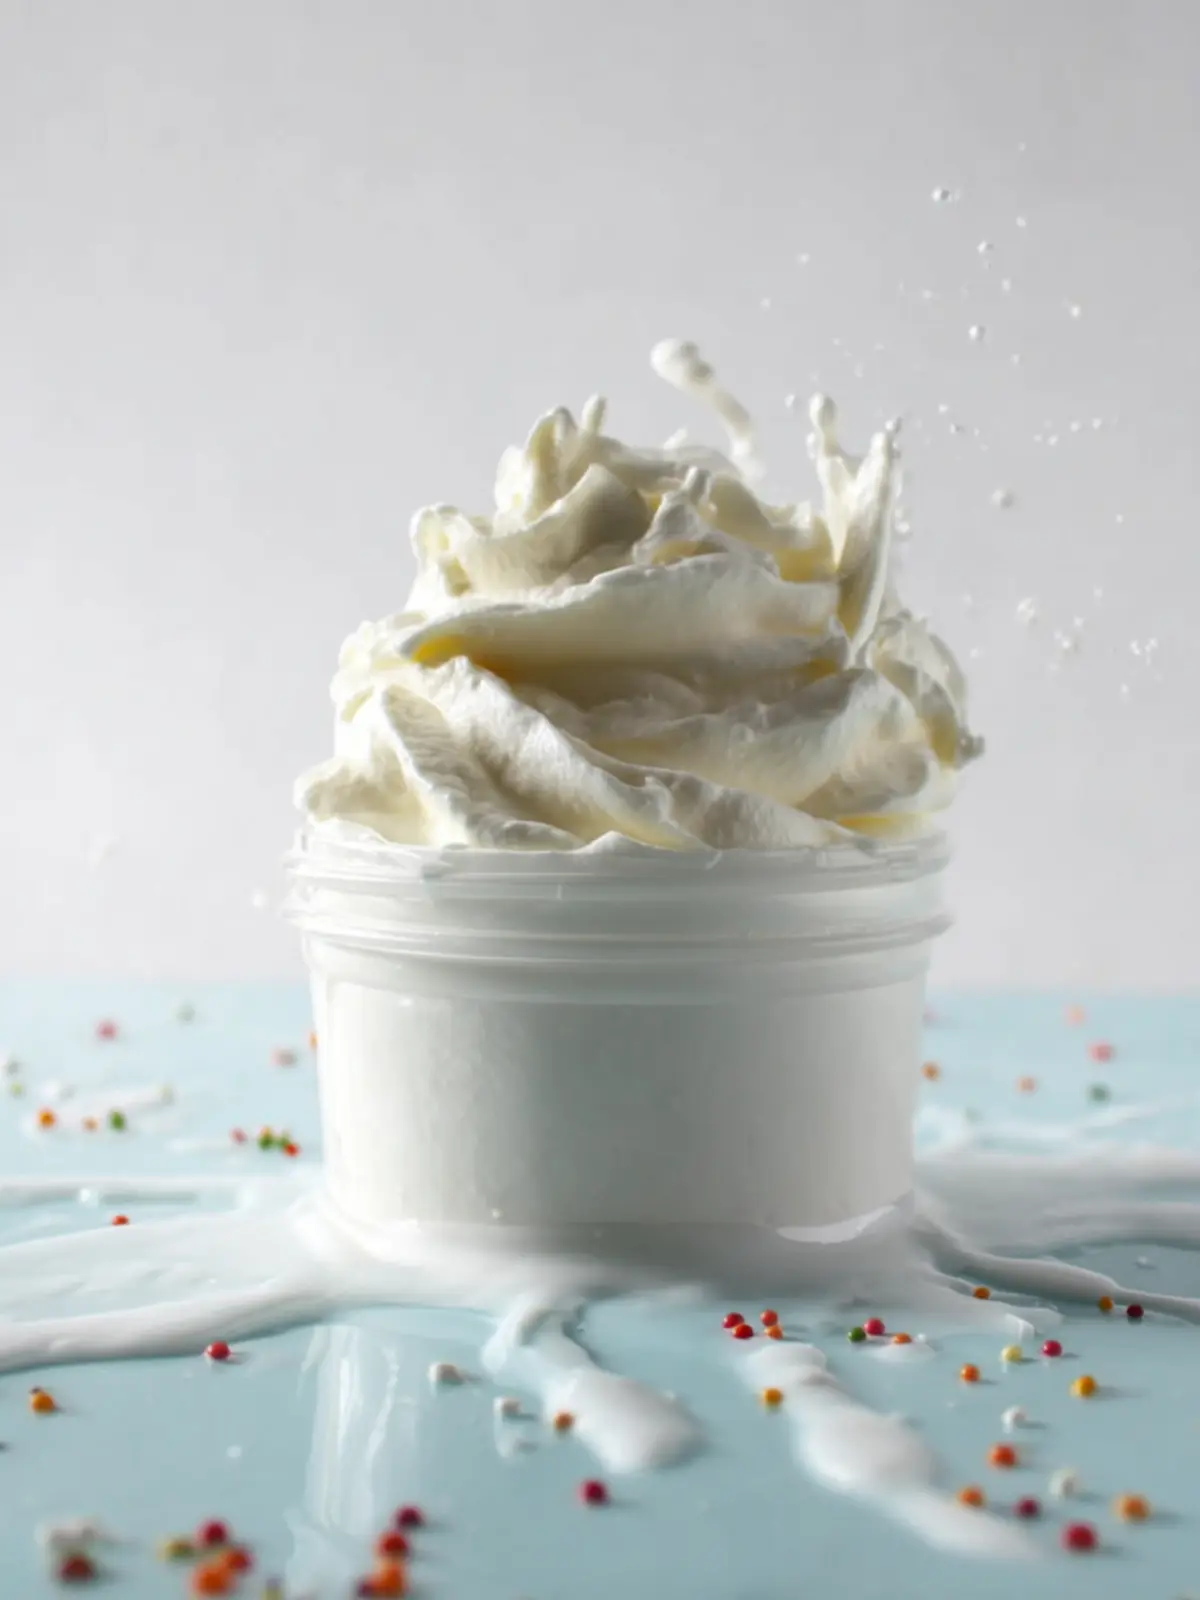
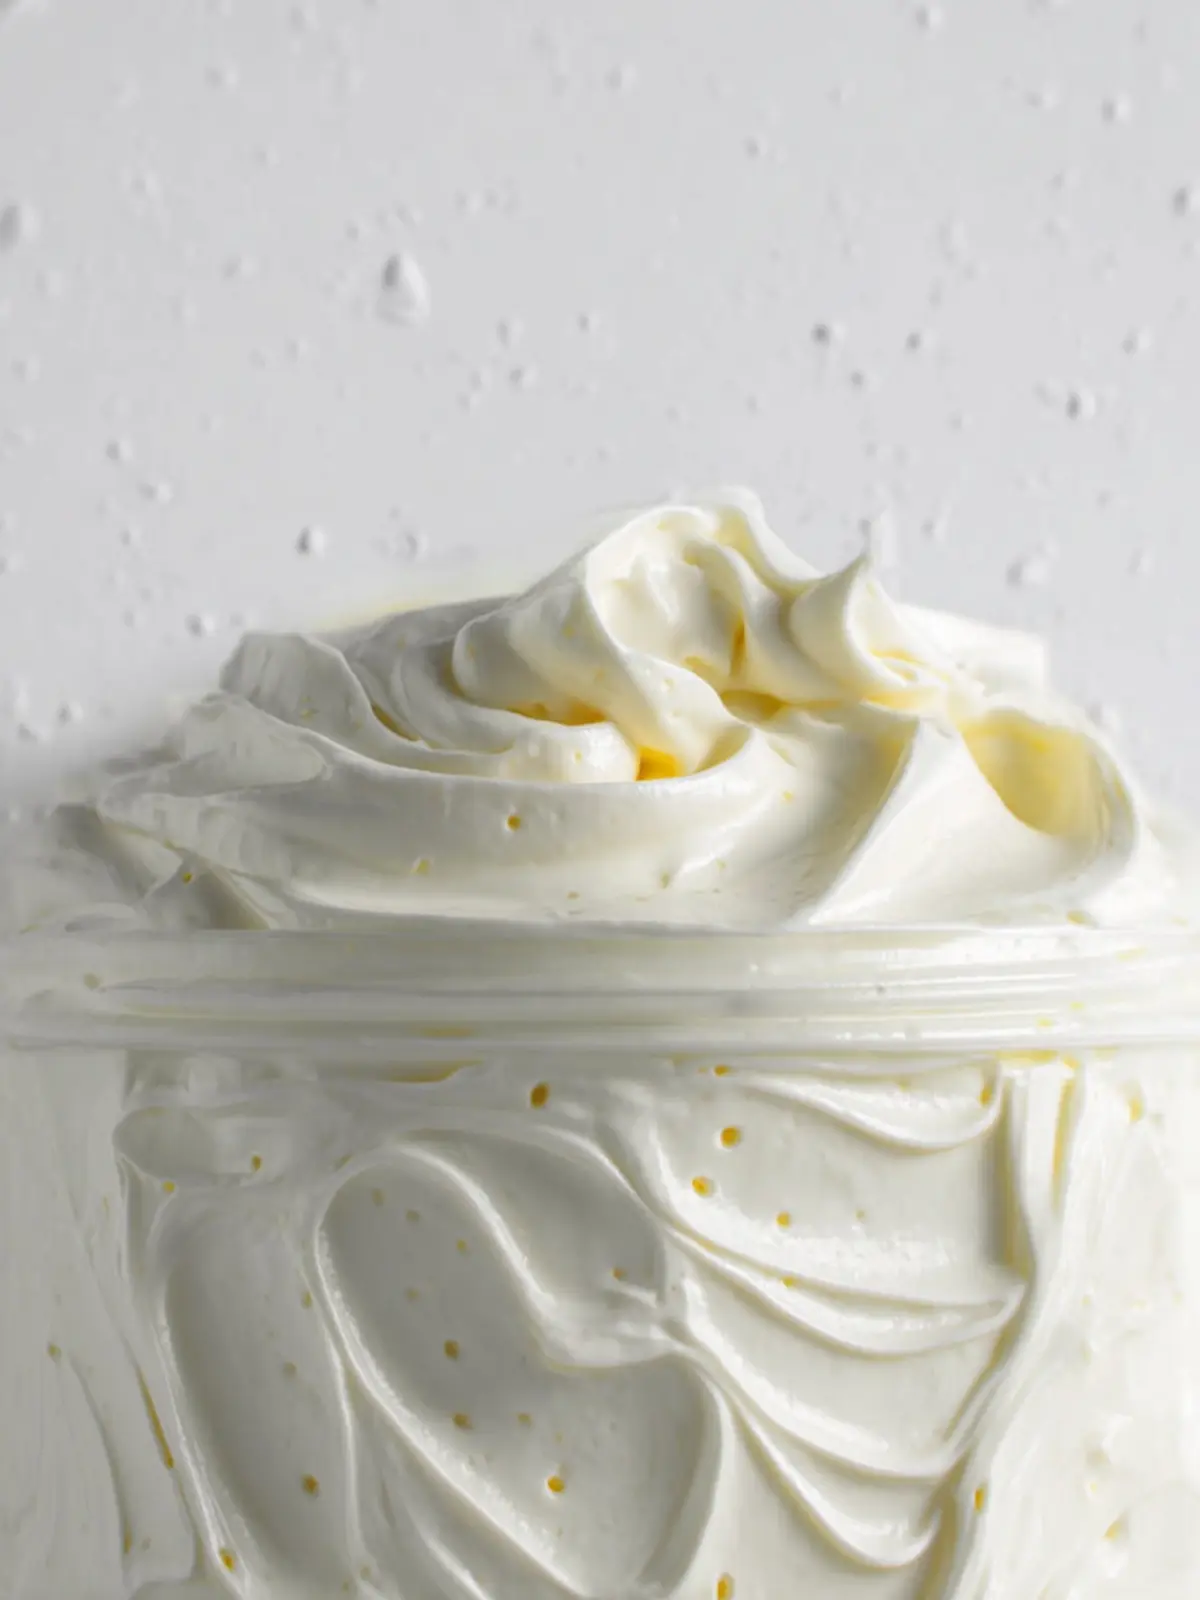
Creating your own homemade diaper cream can be a rewarding and practical choice for parents seeking natural alternatives for their little ones. This simple recipe not only helps prevent and treat diaper rash, but it also allows you to control the ingredients, ensuring they’re gentle and safe. When you blend the soothing powers of shea butter, coconut oil, and zinc oxide, you’re providing your baby with a soft barrier against moisture and irritation. Armed with this knowledge, you can confidently craft a product that supports both your baby’s comfort and your parenting philosophy. Happy crafting!
Print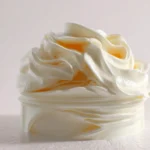
Herbal Infused Oil
- Total Time: 6 weeks
- Yield: Approximately 4 ounces 1x
- Diet: Vegan
Description
This herbal infused oil is perfect for skincare, combining the benefits of various herbs.
Ingredients
Scale
- 1 cup carrier oil (avocado oil works well)
- 1/4 cup marshmallow root
- 1/4 cup lavender
- 1/4 cup calendula
- 1/4 cup chamomile
- 1/2 cup infused oil
- 1 tablespoon beeswax
- 3 tablespoons shea butter
- 2 tablespoons non nano zinc oxide
- 5–10 drops essential oil (optional)
Instructions
- Add each of the herbs into a glass jar. Pour the carrier oil on top of the herbs and screw on the lid. Allow herbs to infuse for 4 to 6 weeks, shaking every couple of days. Then strain. This is your herbal infused oil.
- Add the shea butter, infused oil, and beeswax to a heat-safe glass container. Slowly melt it in a double boiler or in the microwave, stirring frequently.
- Once completely melted, put the mixture in the fridge for about 30 minutes until it is fully hard.
- Put the mixture into a bowl and mix with a mixer. An immersion/stick blender works well for this, but you can also use a handheld electric mixer. Add in the non-nano zinc oxide. Make sure to mix it thoroughly.
- Add in the optional essential oils (if using) and stir once again.
- Pour into a 4-ounce glass jar or other container, and add the lid and a label.
Notes
- Make sure to use a glass container for the infusion process to avoid any chemical leaching.
- This infused oil can be used for various skin applications.
- Prep Time: 10 minutes
- Cook Time: 0 minutes
- Category: Skincare
- Method: Infusing
- Cuisine: Herbal
Nutrition
- Serving Size: 1 tablespoon